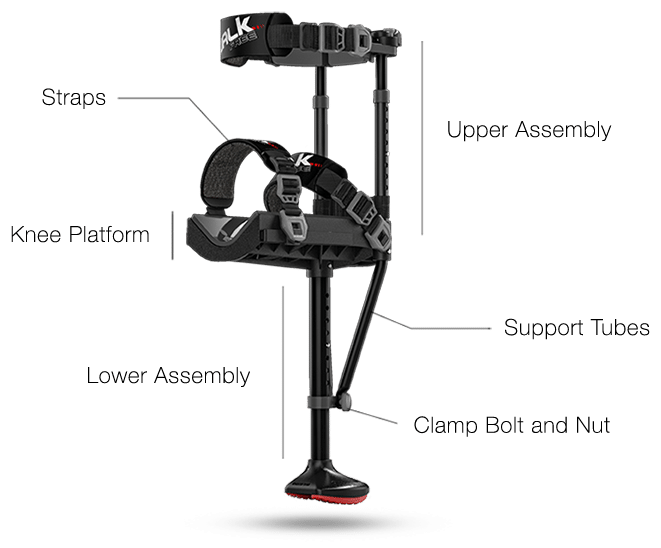

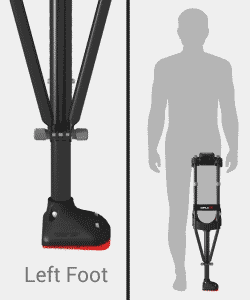
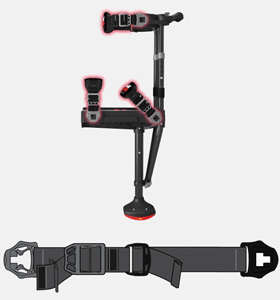


| • You have assembled and fit the iWALK2.0 according to our instructions. |
| • You could walk normally prior to your injury. |
| • You have at least average strength and balance. |
| • Your uninjured leg is fully functional. |
| • You have watched and will follow our Fitting and Use videos and read the corresponding instructions. |
| • You’re dedicated and enthusiastic to spend 5-20 minutes to learn to walk on the iWALK2.0. |
Hints and Tips : |
1. See what to expect it will be like iWALKing for the first time by viewing at least four of our First Time User videos

2. Location – Pick an environment that allows you to take as many steps as possible without turning around or navigating around objects. Ideally, you will have a wall or rail to give you confidence. Hallways work well.
3. Surface – Hard level surfaces are the best! Definitely avoid padded carpets for learning


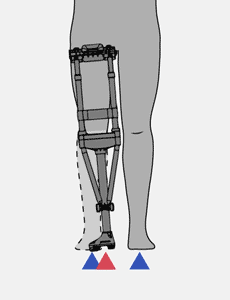
4. Be confident! When walking on the crutch, commit all your weight onto the crutch. Don’t favor your crutch leg – just walk normally. You’ll learn way faster if you don’t baby it.