Discontinued Model Instructions
How to Use
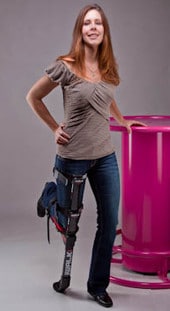
Putting the WALK into iWALKFree
Getting used to the iWALKFree is different for everyone. Some people take to hands free crutch alternatives immediately, while others take a little more time. Our advice is to take our advice – read and understand all the directions thoroughly before starting. Take a few moments to watch our informative videos. Then…go for it. You’ll be experiencing a whole new world of hands-free mobility in no time. If you do have difficulties, then be patient, take it slow, and know that it will work. If that’s not enough, then contact us…we’re here to help.
The first thing you want to do is to simply stand on your iWALKFree and get the feel for it. Here are some important things to remember
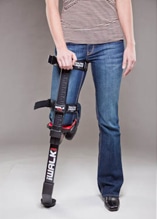
- Have a table, chair, back of a sofa, hand rails, etc. there to support your weight and give you balance. (Figure 1.1)
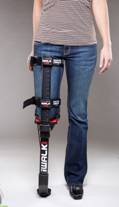
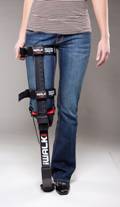
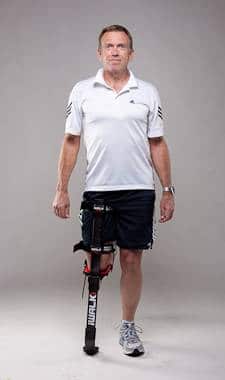
- Place your legs in an exaggerated, “V” shaped stance. Eventually you will use a more natural, closed stance, but for now, stick with the exaggerated wide stance.(Figure 1.2)
- Initially, put as little weight as possible on the iWALKFree. Keep your uninjured leg bent slightly at the knee.
- Place you hand on top of the iWALKFree as if it were a cane. This will give you additional stability, control and balance. Figure 1.3
- With most of your weight still on your uninjured leg, rock side to side and front to back on your iWALKFree.
- Check to see that all three straps are still tight and secure. Chances are you will want to re-tighten the straps at this point.
- Gradually place more and more weight onto your iWALKFree as you gain confidence and balance. Check out our informative video that shows you how to do this.
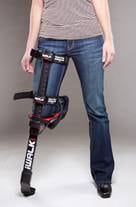
Step 2 – Baby steps
Now that you’re comfortable standing and balancing on your iWALKFree, it’s time to take your first steps.
- Make sure you have a sturdy table, back of a sofa, hand rail, or, ideally, parallel rails (in a clinical setting) to hang onto — just in case.
- Place your hand on the top of the iWALKFree, as though it was a cane.
- Starting with your weight on your uninjured leg, and keeping the wide stance described above, take a very small step with your iWALKFree and gradually shift your weight onto it.
- Allow your weight to shift slightly forward, as in normal walking, and try to step from your iWALKFree back to your uninjured leg. Take short steps, trying to walk as normal as possible.
- Avoid “shuffling”. Shuffling is where you only take half steps with your uninjured leg, and, with each step, stop your “good” foot even with your iWALKFree. You want to bring your good foot past the iWALKFree with each step, as you would in normal walking…but remember, keep these initial steps short. If you’re having difficulty doing this, rely on the hand rail until you gain confidence and balance.
- Some people are more confident by initially using a conventional cane in combination with their iWALKFree. Feel free to try this out if you’re having difficulty – don’t worry – you’ll get used to iWALKFree quickly, and be 100% hands free soon enough.
- As you gain confidence, gradually lengthen your steps and narrow your stance until a near normal walking motion is achieved. Figure 2.2
Check out our informative video that shows you how to do this.
If at first you don’t succeed
Step 3 – Walking without crutches
Keep practicing walking with your iWALKFree until you become proficient. You can gradually increase your distance, but always remember to stop when you’re tired. Pretty soon you can start doing normal day to day activities, such as pushing a shopping cart, or walking the dog, cooking, cleaning, etc.
Congratulations – you did it! You can now walk without crutches!


